Being creative is fun, exciting, and good for you! Welcome to Creative Jumble where we have an array of articles, reviews, how-tos, and much more to feed your creative hunger.
From painting to collecting, stamping to forging, gluing to annealing, sketching to model building, if it is creative, we throw it into the jumble.
Got a craft, product, or idea we don’t talk about? Have a different way of doing something we have an article on? Let us know, we love input. In the meantime, GET CREATING!
Some of our most popular articles:
![]()
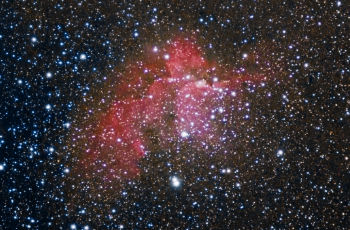
Since I was a kid, the stars and planets have fascinated me. I imagine that holds true for many kids.
When I went looking for a 3D printer it seemed like there were a ton of them, so what made
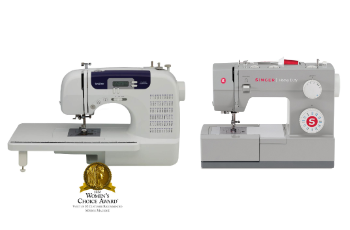
You do not have to sacrifice features or capabilities to get the best sewing machine under $200 today, there are
If you are just getting into making your own cheese at home, picking the best cheese making kit to start
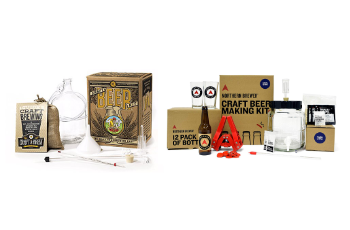
All of the best beer brewing kits out there have one thing in common; they allow you to craft something
Choosing the best soap making kits to recommend requires a few ground rules; it must contain everything the typical person
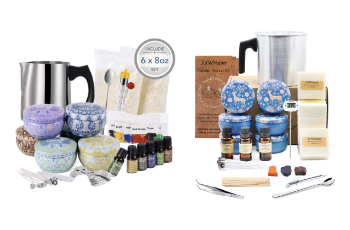
When sitting down to write an article on the best candle making kits out there it dawned on me, there
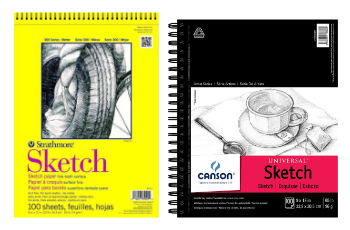
Before we get into the best sketching paper we should discuss one subject and that is the difference between sketching
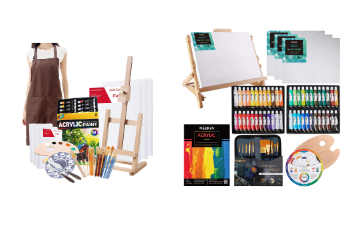
If you are a beginner and want the best acrylic paint set you can get to start out with, you
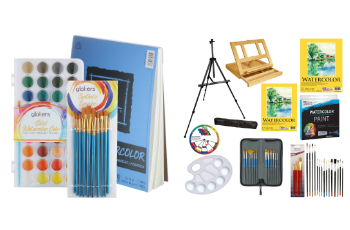
Watercolors are unique in that there are two different main levels of watercolor paints; those for play, and those for